Apache Spark is pivotal in the big data ecosystem, processing vast amounts of data efficiently and saving significant resources and time. Kubernetes plays an increasingly crucial role in managing these big data applications. AWS EKS (Elastic Kubernetes Service) simplifies the deployment of such technologies, although integrating Spark applications within Kubernetes, especially under AWS, can present challenges due to complexities in accessing AWS resources.
The AWS Java SDK supports various authentication methods, with IRSA (IAM Role for Service Account) being the most prevalent. For those interested in learning more about IRSA, a detailed explanation is available here. Traditionally, utilising Spark with IRSA has been a cumbersome process, requiring the generation of WebIdentityToken, setting up access keys, and more. Fortunately, AWS EKS Pod Identity introduces a streamlined approach, enabling straightforward access to the necessary AWS resources without the need for complex authentication configurations in Spark. This article will guide you through deploying the latest Spark Application using AWS EKS Pod Identity in the AWS EKS environment, simplifying the previously intricate process.

Pre Requirements:
- Existing AWS EKS Cluster with Pod Identity Agent
- Configurations for the Pod Identity. You can find the details in our EKS Pod Identity blog post.
Deploying Spark applications in our Kubernetes environment with AWS EKS Pod Identity involves a straightforward process:
- Create a Private S3 Bucket: This initial step involves setting up a private S3 bucket for data storage, ensuring it is configured for both read and write access.
- Set Up IAM Roles and AWS ECR: Necessary IAM roles must be established to manage permissions for accessing the S3 bucket and for Pod Identity. Additionally, the AWS Elastic Container Registry (ECR) will be utilised to store custom Spark images.
- Install spark-k8s-operator via Helm: This step involves the deployment of spark-k8s-operator using Helm, which facilitates the management and operation of Spark applications within our Kubernetes environment.
- Utilise PySpark for Data Handling: We will employ PySpark code to manage data extraction from and uploads to S3. Furthermore, a custom PySpark Docker image will be created to run our specific code.
- Create a ServiceAccount and a ClusterRole: Essential for granting the appropriate permissions, this step ensures our Spark application has the required access within the Kubernetes cluster.
- Deploy with a Spark Application YAML: Finally, we will define and apply a Spark Application YAML file to deploy our Spark job effectively within the environment.
It's time to get our hands dirty!
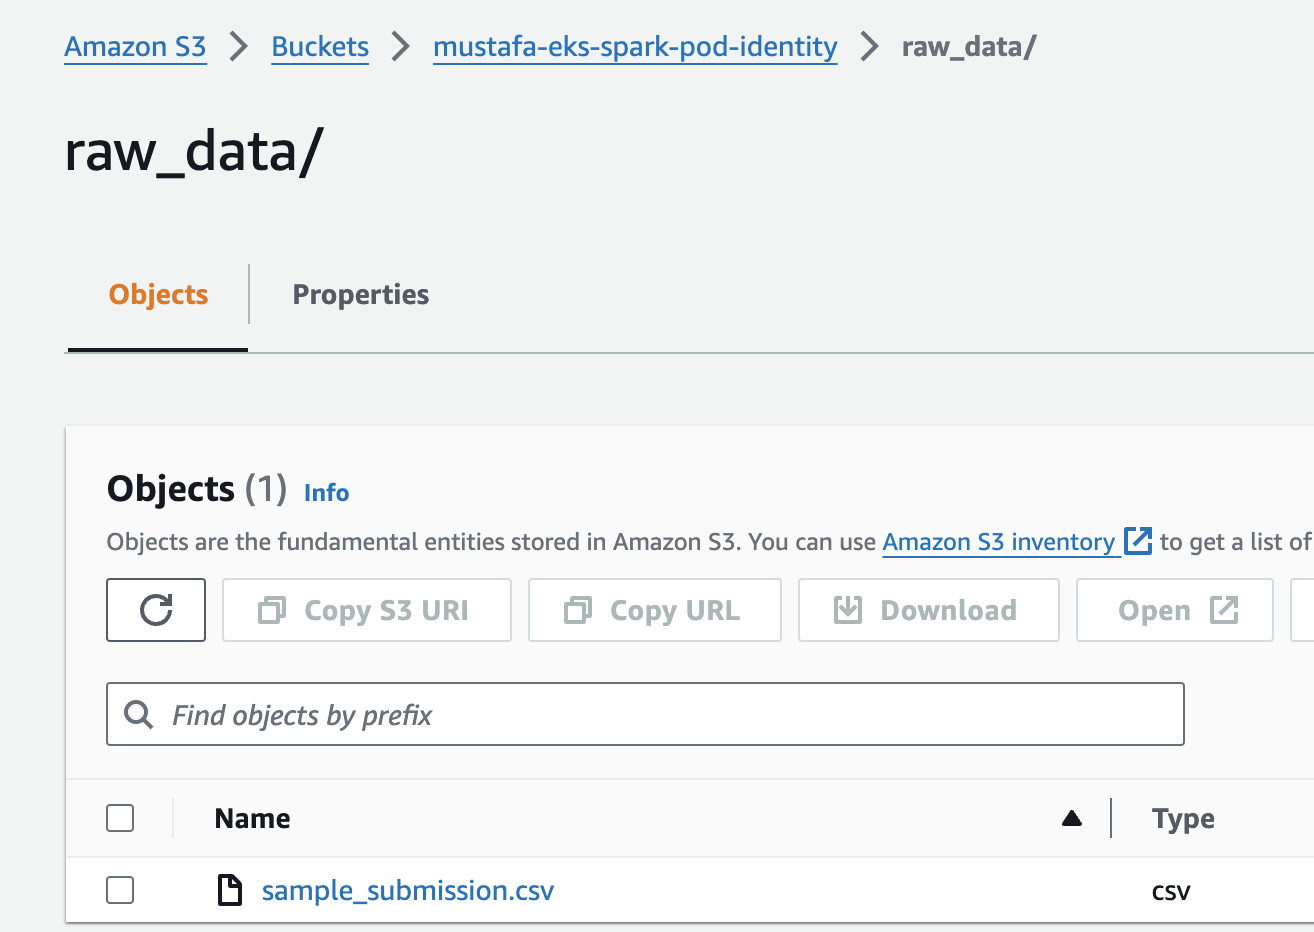
Before diving into Spark on AWS EKS, ensure you've followed the AWS EKS Pod Identity setup steps outlined earlier. Our task will involve reading data from a raw_data folder, converting it to Parquet format, and then uploading it to a parquet_data folder, all using a sample CSV file for demonstration.
Step 1: Creating S3 Bucket
Our first step is to establish a Private S3 Bucket. This bucket will be uniquely configured to allow both read and write permissions across various pods. For those new to AWS, I recommend reviewing the EKS Pod Identity Blog Post for a detailed walkthrough on creating an AWS S3 Bucket. Within this bucket, we'll set up two distinct folders named raw_data and parquet_data. Then, we'll proceed to upload our sample CSV file into the raw_data folder, setting the stage for our data processing tasks.
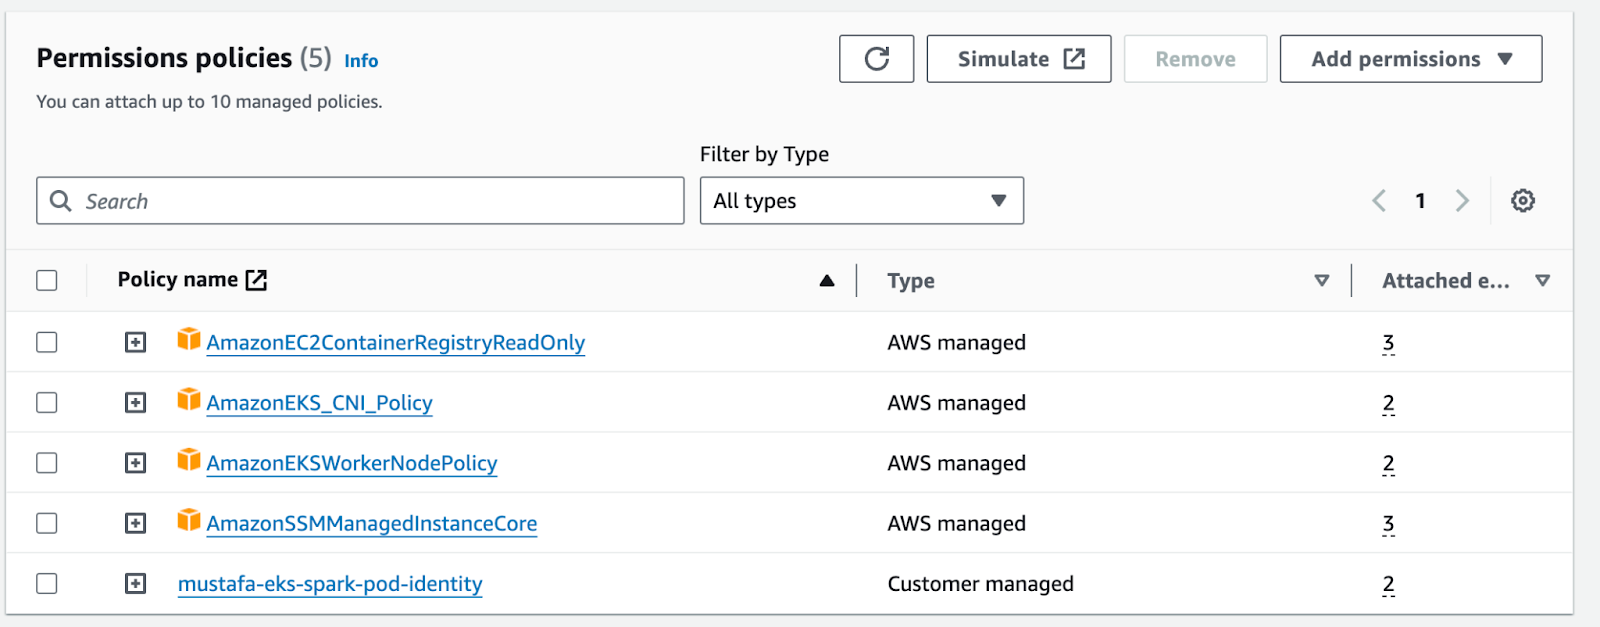
Step 2: Creating IAM Roles
You are in the right place now if you have already configured Pod Identity steps. We will create an IAM Role to read data from the raw_data folder and write data to the parquet_data folder.
You can find the example role below:
After that, we need to attach this role to our node group role and attach the AmazonEC2ContainerRegistryReadOnly policy to access AWS ECR (Elastic Container Registry). We will discuss AWS ECR later.
Step 3: Deploying Spark-K8s-Operator via Helm
Google Cloud Platform has donated spark-k8s-operator project to kubeflow. You can reach kubeflow README.md document from https://github.com/kubeflow/spark-operator
Install with:
Step 4: Create a Custom PySpark Docker image and upload it to AWS ECR
When you deploy spark-k8s-operator via Helm, you might see the example supported Spark version is 3.1.1, and there needs to be some clarification about using the latest Spark version. We will create a Docker image with spark v3.5.0, which is the latest version.
First, we need to create our Python file, which reads data from the bucket and writes as we discussed. Let's create a Python file with the name "spark_s3.py"
And create a Dockerfile;
To build the Dockerfile and upload it to AWS ECR, you can follow the steps below:
- Go to AWS ECR services in AWS Console.
- In private repositories, create a repository. (I created with the name "mustafa-pyspark")
- Click the "View Push Commands" tab and paste the commands respectively to the terminal opened with the same path as the Dockerfile.
- Copy and paste the commands below, respectively.
Step 5: Service Account and Cluster Role Creation
Before creating a Spark Application, we must create a service account and a cluster role for our application. You can find the example YAMLs below;
To create a service account;
Let's create a "permission.yaml" file to create a cluster role;
After creating the file, execute;
Step 6: Create a Spark Application
Below is a sample YAML configuration for a Spark Application. It's important to note the compatibility requirements: Apache Spark v3.5.0 works with Hadoop-aws v3.3.4, which in turn is compatible with aws-java-sdk versions from v1.12.262. To leverage the AWS EKS Pod Identity feature, we'll ensure the use of the supported aws-java-sdk version, which is v1.12.641, in our configuration.
We need to install the aws-java-sdk version with version "1.12.596" or later, which includes EKS Pod Identity.
Example_pyspark.yaml:
Lastly, execute:
After that, the spark-k8s-operator will create a new pod that includes a Spark driver, and after that, the spark-executor pod will also be created automatically.
You can list pods using the "kubectl get pods -n spark-operator" command. However, if you want to see logs inside your pods (driver or executor), you can execute "kubectl logs <pod_name> -n spark-operator"
You will see the pod status below:
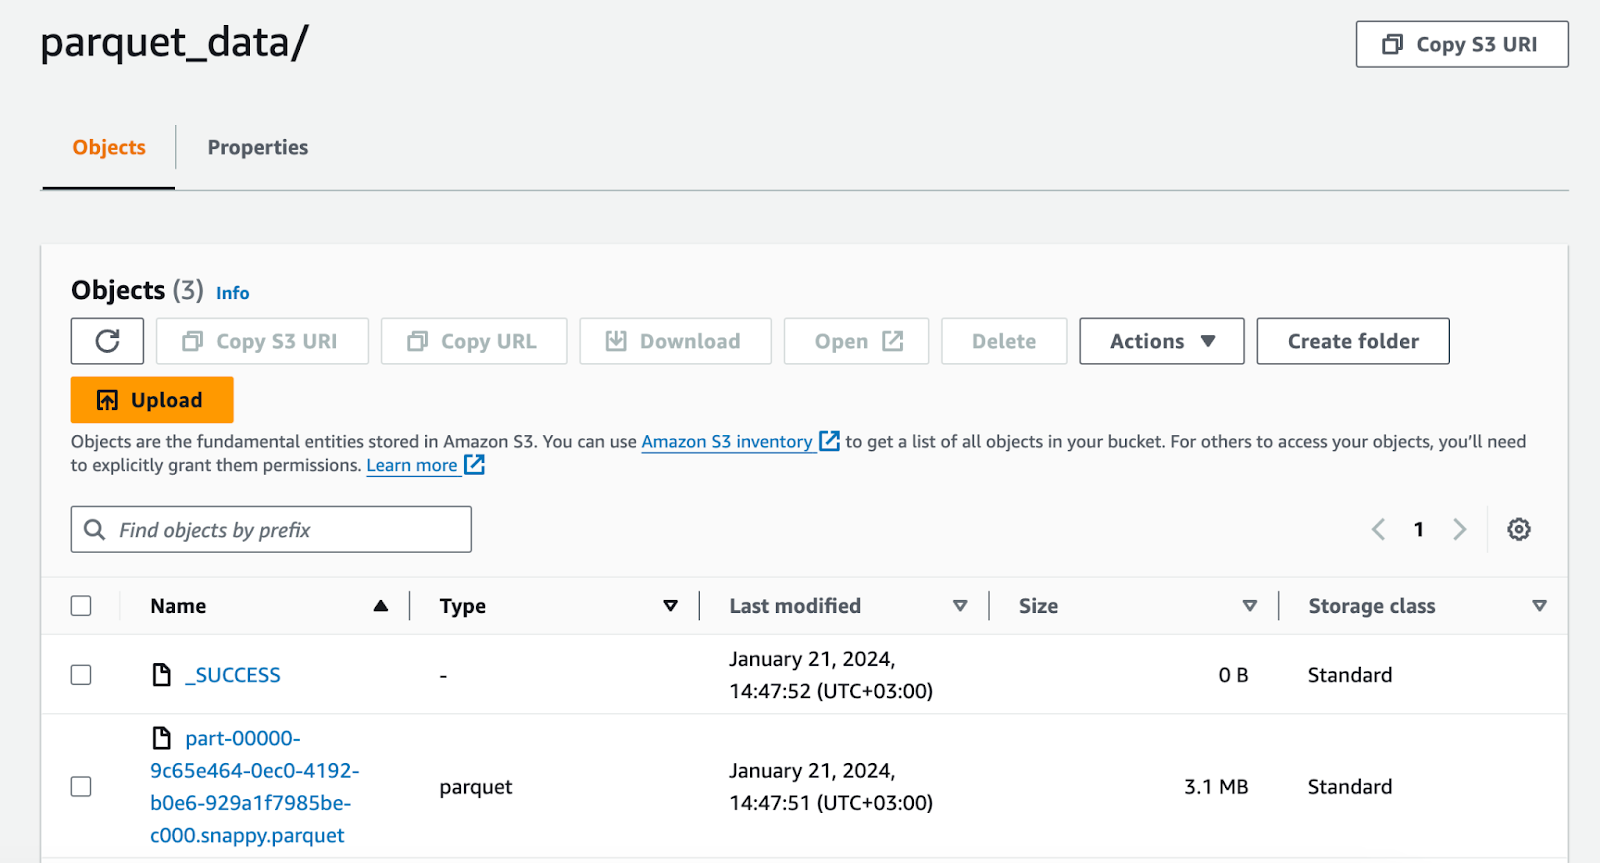
After that, we can check our parquet_data folder inside of the S3 Bucket.
Conclusion
Working with Spark in a Kubernetes setting can be tough, especially when dealing with complex setups like IRSA for data processing in the big data field. These traditional methods demand a lot of complex setup work. However, the introduction of AWS EKS Pod Identity has changed the game. It simplifies how we connect our pods to AWS services, allowing us to set up Spark on AWS through a few easy steps. This development makes managing Spark in Kubernetes much simpler.