Kubernetes Network Policies - Part 2

In this blog post, we will continue to explain how network policies work and show how they can control traffic in a Kubernetes cluster. If you are not familiar with network policies or missed part 1 of this blog post series, please check it here.

For the demo, we will use kind and spin up one master and one worker Kubernetes cluster without a CNI. As you remember from the previous post, we need a supporting CNI installed in the cluster; otherwise, they will not be effective. In our demo, we will use Calico, one of the popular CNI that supports network policies.

Here is my kind configuration file (cluster.yaml).

kind: Cluster
apiVersion: kind.x-k8s.io/v1alpha4
nodes:
- role: control-plane
  image: kindest/node:v1.19.1@sha256:98cf5288864662e37115e362b23e4369c8c4a408f99cbc06e58ac30ddc721600
- role: worker
  image: kindest/node:v1.19.1@sha256:98cf5288864662e37115e362b23e4369c8c4a408f99cbc06e58ac30ddc721600
networking:
  disableDefaultCNI: true
  podSubnet: 192.168.0.0/16


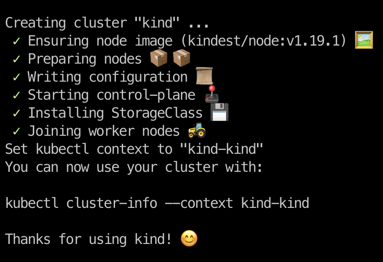
First, I will start the cluster with the command below.

kind create cluster --config cluster.yaml

kind

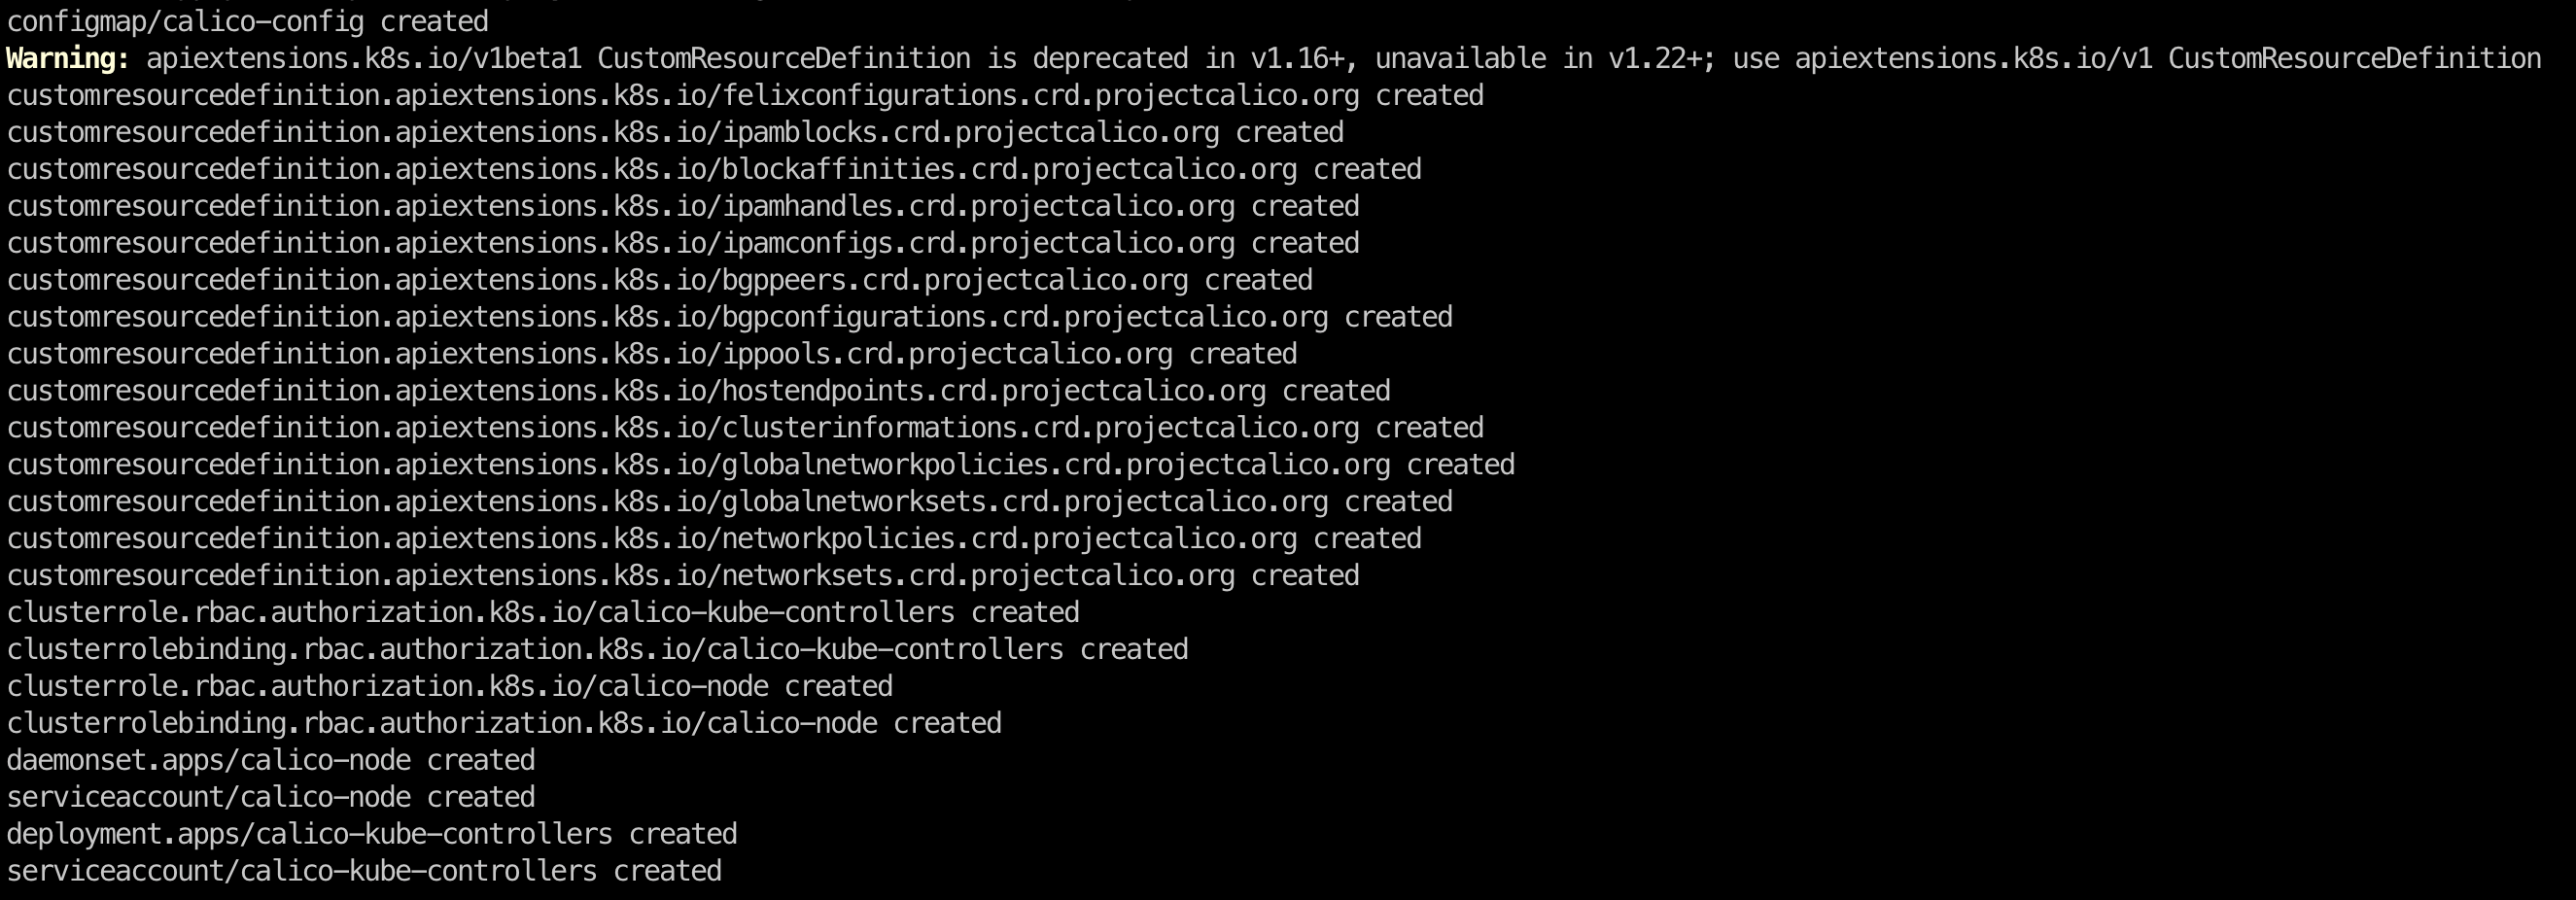
So our cluster is ready, and the next step is deploying the Calico. Here I deploy it using the command:

kubectl create -f https://docs.projectcalico.org/v3.8/manifests/calico.yaml
 

calico

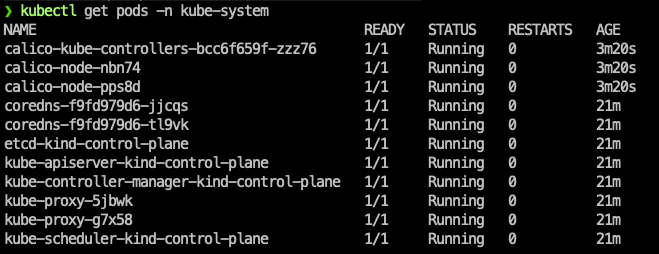
In a couple of minutes, calico pods will be ready.

calico-pods

Now we can start to deploy some applications and see how we’ll limit traffic with network policies.

First, let’s remember our architecture. We have four namespaces in our cluster:

  • Development
  • Frontend
  • Backend
  • Database

Here, you may think that we have a 3-tier web application stack, and we need to limit traffic between these tiers. Also, we need to deny traffic from the development namespace to our application stack.

So let’s carry on by creating our namespaces and apps.

Here is the manifest file for the namespaces.

apiVersion: v1
kind: Namespace
metadata:
  name: development
  labels:
    env: development
---
apiVersion: v1
kind: Namespace
metadata:
  name: frontend
  labels:
    env: frontend
---
apiVersion: v1
kind: Namespace
metadata:
  name: backend
  labels:
    env: backend
---
apiVersion: v1
kind: Namespace
metadata:
  name: database
  labels:
    env: database


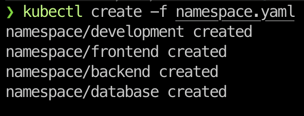
And I create them using the command

kubectl create -f namespace.yaml

ns

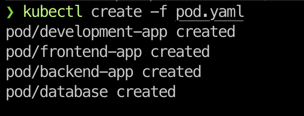
Next, we will deploy our pods and services to test the connection between them and here is the pod.yaml.

apiVersion: v1
kind: Pod
metadata:
  name: development-app
  namespace: development
  labels:
    env: development
spec:
  containers:
    - name: dev-nginx
      image: nginx

---
apiVersion: v1
kind: Pod
metadata:
  name: frontend-app
  namespace: frontend
  labels:
    env: frontend
spec:
  containers:
    - name: frontend-nginx
      image: nginx

---
apiVersion: v1
kind: Pod
metadata:
  name: backend-app
  namespace: backend
  labels:
    env: backend
spec:
  containers:
    - name: backend-nginx
      image: nginx

---
apiVersion: v1
kind: Pod
metadata:
  name: database
  namespace: database
  labels:
    env: database
spec:
  containers:
    - name: db
      image: mysql:8.0.23
      env:
      - name: MYSQL_RANDOM_ROOT_PASSWORD
        value: "true"


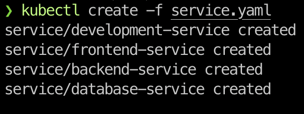
And here is the service.yaml.


apiVersion: v1
kind: Service
metadata:
  name: development-service
  namespace: development
spec:
  selector:
    env: development
  ports:
    - protocol: TCP
      port: 80
      targetPort: 80

---
apiVersion: v1
kind: Service
metadata:
  name: frontend-service
  namespace: frontend
spec:
  selector:
    env: frontend
  ports:
    - protocol: TCP
      port: 80
      targetPort: 80

---
apiVersion: v1
kind: Service
metadata:
  name: backend-service
  namespace: backend
spec:
  selector:
    env: backend
  ports:
    - protocol: TCP
      port: 80
      targetPort: 80

---
apiVersion: v1
kind: Service
metadata:
  name: database-service
  namespace: database
spec:
  selector:
    env: database
  ports:
    - protocol: TCP
      port: 3306
      targetPort: 3306


So as you can see, we deploy three nginx containers and a MySQL database container. When they are up and running, we’ll start the tests.

Again I deploy pods and services using the commands below.

kubectl create -f pod.yaml

pod

kubectl create -f service.yaml

service


Right now, without any network policies, we can access from any pod to any pod and between all namespaces. This is the default behavior of Kubernetes when you don’t configure network policies. We can directly make some tests and see that we can reach, for example, from the development pod in the development namespace to the MySql database in the database namespace.

Since we are using nginx images in our pods, we can test the connection with the following curl command

kubectl exec -it -n development development-app -- curl telnet://database-service.database:3306 -v

db-connection

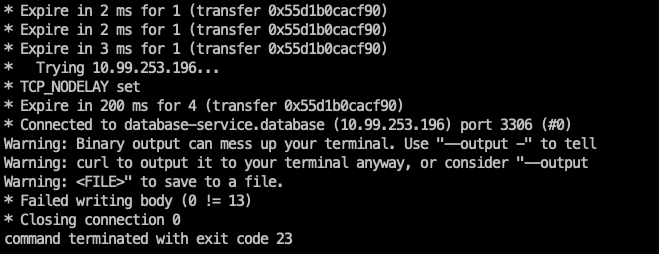
As expected, we can connect to the database without any issue, and it looks scary :). So our next step should be to prevent this and deploy some network policies into our cluster.

A quick overview of network policy

Before deploying a network policy, let’s look at the spec of a network policy.

Like the other objects in Kubernetes, there are the same mandatory fields when defining a network policy. The configuration is set at spec, and here are the fields:

  • PodSelector: This is used for selecting the pods to which this NetworkPolicy object applies.
  • PolicyTypes: Rule types that our NetworkPolicy relates. We can define "Ingress", "Egress", or "Ingress, Egress" type policies.
  • Egress: Outbound traffic control rules to be applied to the selected pods
  • Ingress: Inbound traffic control rules to be applied to the selected pods

(We will see more examples and see how these fields are used)

Network policies in action!

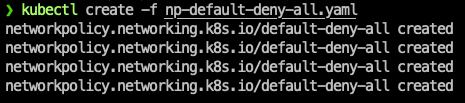
First of all, we need to deny everything in all namespaces by default. The reason for this is that we may deploy other namespaces and other resources in our cluster, and we will be able to block the traffic generated by these resources.

So let’s deploy our first network policy.

apiVersion: networking.k8s.io/v1
kind: NetworkPolicy
metadata:
  name: default-deny-all
  namespace: development
spec:
  podSelector: {}
  policyTypes:
  - Ingress
  - Egress
  egress:
  - ports:
    # Allow DNS Resolution
    - port: 53
      protocol: UDP
    - port: 53
      protocol: TCP


---
apiVersion: networking.k8s.io/v1
kind: NetworkPolicy
metadata:
  name: default-deny-all
  namespace: frontend
spec:
  podSelector: {}
  policyTypes:
  - Ingress
  - Egress
  egress:
  - ports:
    # Allow DNS Resolution
    - port: 53
      protocol: UDP
    - port: 53
      protocol: TCP

---
apiVersion: networking.k8s.io/v1
kind: NetworkPolicy
metadata:
  name: default-deny-all
  namespace: backend
spec:
  podSelector: {}
  policyTypes:
  - Ingress
  - Egress
  egress:
  - ports:
    # Allow DNS Resolution
    - port: 53
      protocol: UDP
    - port: 53
      protocol: TCP

---
apiVersion: networking.k8s.io/v1
kind: NetworkPolicy
metadata:
  name: default-deny-all
  namespace: database
spec:
  podSelector: {}
  policyTypes:
  - Ingress
  - Egress
  egress:
  - ports:
    # Allow DNS Resolution
    - port: 53
      protocol: UDP
    - port: 53
      protocol: TCP


Let’s see one of them in detail, the database one:

  • Namespace: We are deploying this policy in the database namespace
  • Podselector: Since we don’t match any label, this network policy will affect all the pods in this namespace.
  • PolicyTypes: We use both Ingress and Egress type policies, so no inbound and outbound traffic is allowed
  • Egress: We only allow outbound traffic for port 53 and protocol TCP and UDP. This means we can make DNS queries, and we need them to resolve the DNS names for services. Remember, we’ll make curl requests like "curl backend-service.backend"

We’ll deploy these network policies and then make another test as we did previously.

kubectl create -f np-default-deny-all.yaml

np-default-created

Let's do the same test as before to check if we can still access the database.

db-connection-failed

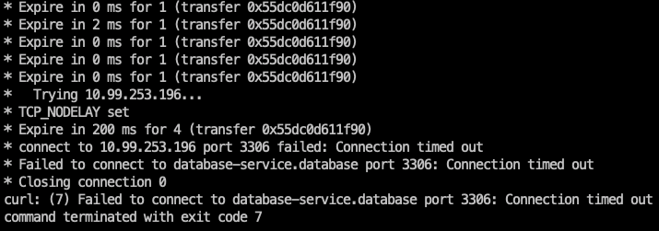
That looks better; we can't connect to the database from the development namespace.

We can carry on with deploying out other network policies. So:

1 - In frontend namespace: We need to allow traffic from frontend to backend, type Egress. (allow-egress-to-backend.yaml)

2 - In backend namespace: We need to allow traffic from frontend to backend, type Ingress. Also, allow traffic from backend to database, type Egress. (allow-ingress-from-frontend-and-egress-to-db.yaml)

3 - In database namespace: We need to allow traffic from backend to database, type Ingress. (allow-ingress-from-backend.yaml)

Let's check the manifest files for each of the network policies

allow-egress-to-backend.yaml 

apiVersion: networking.k8s.io/v1
kind: NetworkPolicy
metadata:
  name: frontend-network-policy
  namespace: frontend
spec:
  podSelector:
    matchLabels:
      env: frontend
  policyTypes:
  - Egress
  egress:
  - to:
    - namespaceSelector:
        matchLabels:
          env: backend
      podSelector:
        matchLabels:
          env: backend
    ports:
    - protocol: TCP
      port: 80

allow-ingress-from-frontend-and-egress-to-db.yaml 

apiVersion: networking.k8s.io/v1
kind: NetworkPolicy
metadata:
  name: backend-network-policy
  namespace: backend
spec:
  podSelector:
    matchLabels:
      env: backend
  policyTypes:
  - Ingress
  - Egress
  ingress:
  - from:
    - namespaceSelector:
        matchLabels:
          env: frontend
      podSelector:
        matchLabels:
          env: frontend
    ports:
    - port:  80
      protocol: TCP
  egress:
  - to:
    - namespaceSelector:
        matchLabels:
          env: database
      podSelector:
        matchLabels:
          env: database
    ports:
    - port:  3306
      protocol: TCP

allow-ingress-from-backend.yaml

apiVersion: networking.k8s.io/v1
kind: NetworkPolicy
metadata:
  name: database-network-policy
  namespace: database
spec:
  podSelector:
    matchLabels:
      env: database
  policyTypes:
  - Ingress
  ingress:
  - from:
    - namespaceSelector:
        matchLabels:
          env: backend
      podSelector:
        matchLabels:
          env: backend
    ports:
    - port:  3306
      protocol: TCP


We can start deploying these and test them immediately.

kubectl create -f allow-egress-to-backend.yaml
kubectl create -f allow-ingress-from-backend.yaml
kubectl create -f allow-ingress-from-frontend-and-egress-to-db.yaml

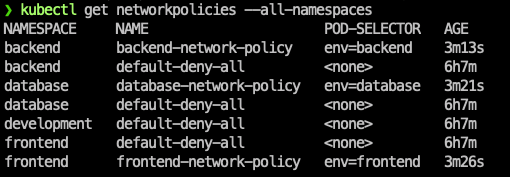
Finally, we have deployed all the network policies in our cluster.

np-deployed

Test time!

I know I'm not able to reach from development namespace to any other so I'll only test the important ones. 

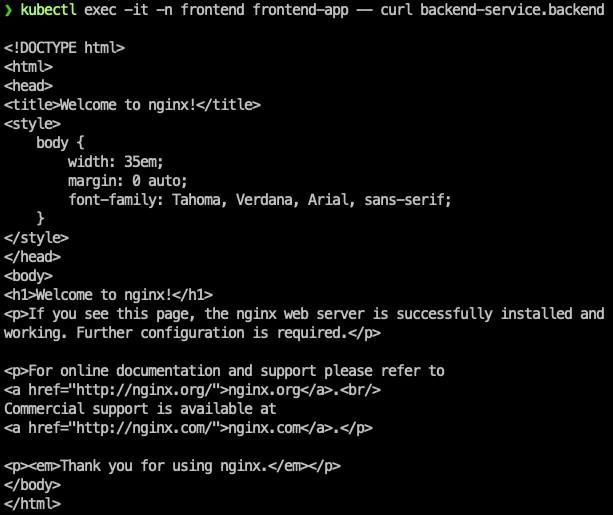
Test 1: From frontend to backend

kubectl exec -it -n frontend frontend-app -- curl backend-service.backend

 fe-be

Test 2: From frontend to database. (It should fail)

kubectl exec -it -n frontend frontend-app -- curl telnet://database-service.database:3306 -v

db-connection-failed

Test 3: From backend to database . (It should work)

kubectl exec -it -n backend backend-app -- curl telnet://database-service.database:3306 -v

db-connection


That's it, we successfully deployed our network policies, and we can now control our traffic in our Kubernetes cluster. I hope you find it helpful, and if you enjoyed reading it, please don't forget to share.

In our next blog post, we will continue to share other Kubernetes and DevSecOps related information.

We also offer a Free Kubernetes Security Audit; if you’d like to hear more about it, please take a look at it here.


Leave a Comment